
Do you love making your own t-shirts or posters? Have you ever wanted to learn how to silk screen print? Well, look no further! Silk screen printing is an awesome way to make your own custom designs.
Silk screen printing can be a lot of fun and it's not as hard as it looks. With just a few materials and tools, you can create some amazing designs that will make your artwork really stand out! Plus, it's a great way to show off your creative side.
When it comes to clothing designs, it is impossible to find the exact design that’s on your mind. When it comes to workout clothing and customized gym clothing, we want the designs to be nothing less than perfect. We are sure you are the same way.
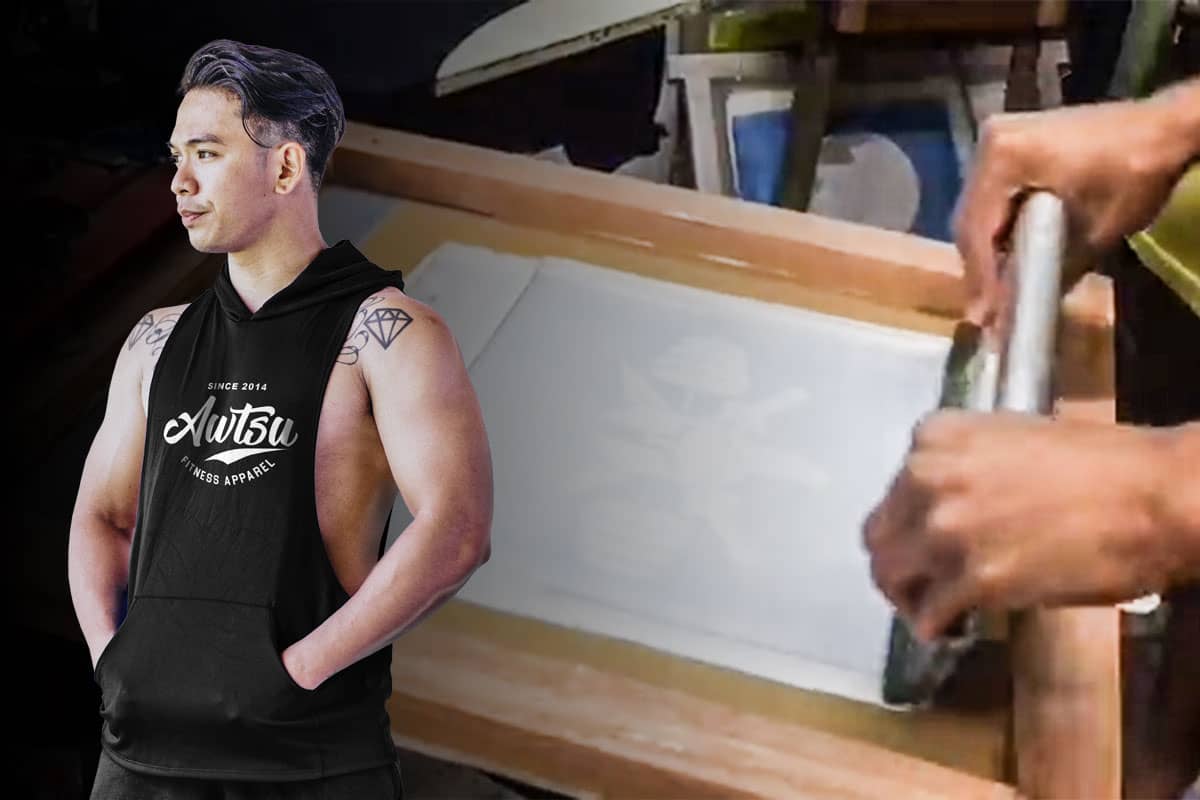
Want to know how to make your own sports clothing and see how the Awtsu Fitness Apparel production process is? You are in luck, because today, we will give you a step-by-step process on silk screen printing.
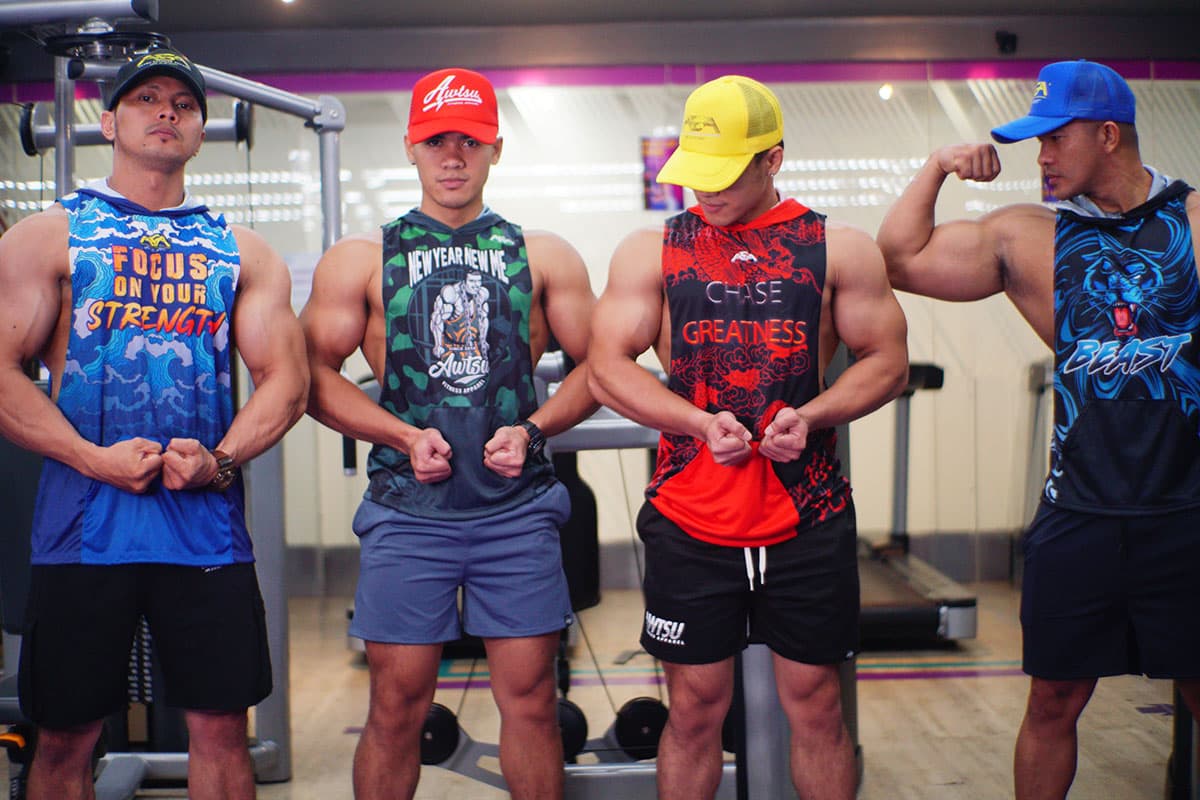
Yes, you read that right, now you can print the design you want on your t-shirt, sando or hoodie. Not only would it be just what you wanted, but it will also be one of a kind. Are you ready to be inspired?
Before we get started let's have a look at what is the definition of silk screen printing.
What Is Silk Screen Printing?
Silk screen printing is like a coloring book with a twist. It takes simple designs and transfers them onto fabric, paper, and other materials. Instead of crayons and markers, the design is printed using ink pressed through a special mesh.
This mesh is made out of silk, which is why it's called silkscreen printing! To get the design onto the material, each color in the design needs to be printed separately with its own separate screen.
The silk mesh blocks off certain areas so that only one color can be printed at a time. When all the colors are printed together they create a beautiful finished product!
So that's how silkscreen printing works, but what do you need to get started? Let's take a look at the equipment and materials needed for this creative process.
Equipment And Materials Needed
If you want to do screen printing, there are some supplies you need. First things first, let’s talk about the things you need to print your designs on your gym clothing.
- You need a blank screen that is pre-stretched in a mesh wooden frame – you can get that online or in most printing shops. There are a few videos you can watch that will tell you the process of making a blank screen.
- Photo emulsion or sensitized emulsions - make sure you don’t buy the big gallon can of it when you are first getting started. It is easily available online and you can find it by searching for “screen printing photo emulsion.”
- Transparency paper for transferring the designs to the screen
- 150 watts high powered incandescent globe
- Squeegee or rubber blade - to spread the ink and photo emulsion evenly over the screen
- High-quality inks - Depending on how many colors your design has, try to make it as simple as possible using one color if you are still starting out, you can get a screenprint starter kit from most printing shops.
- Packaging Tape to stop the ink from leaking out from other parts of the screen
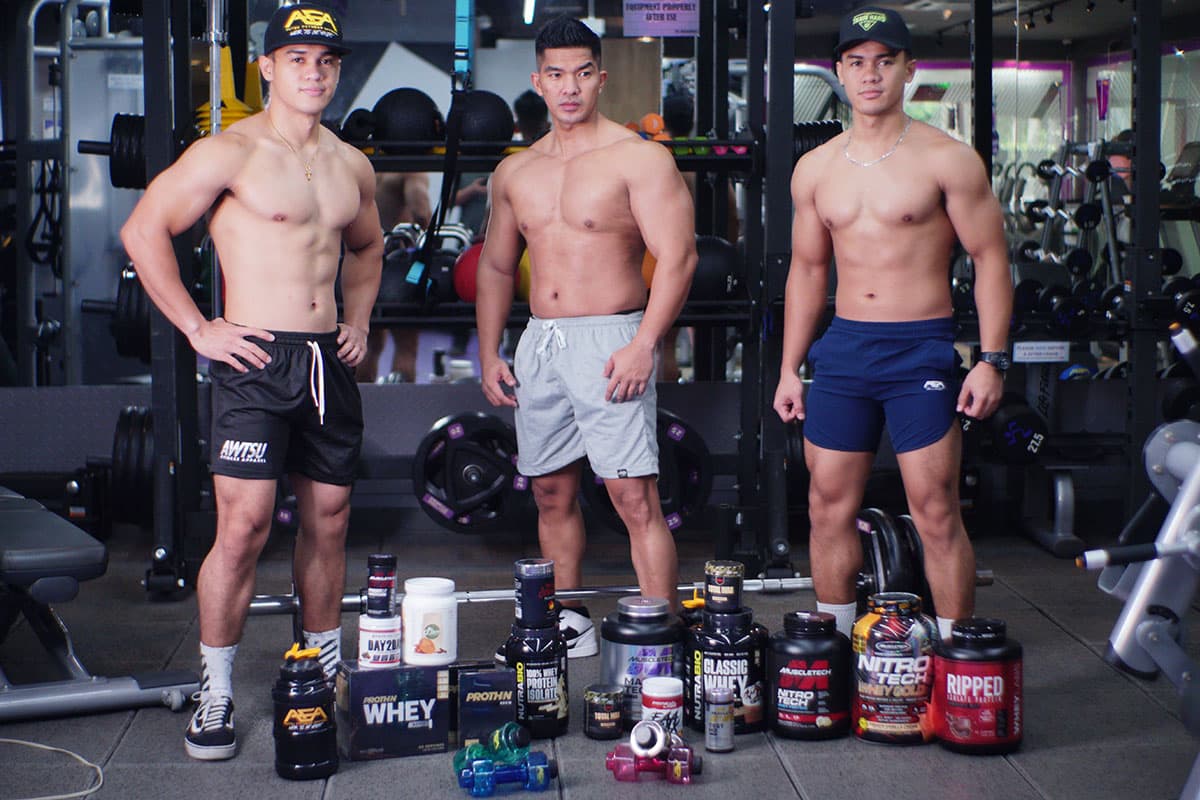
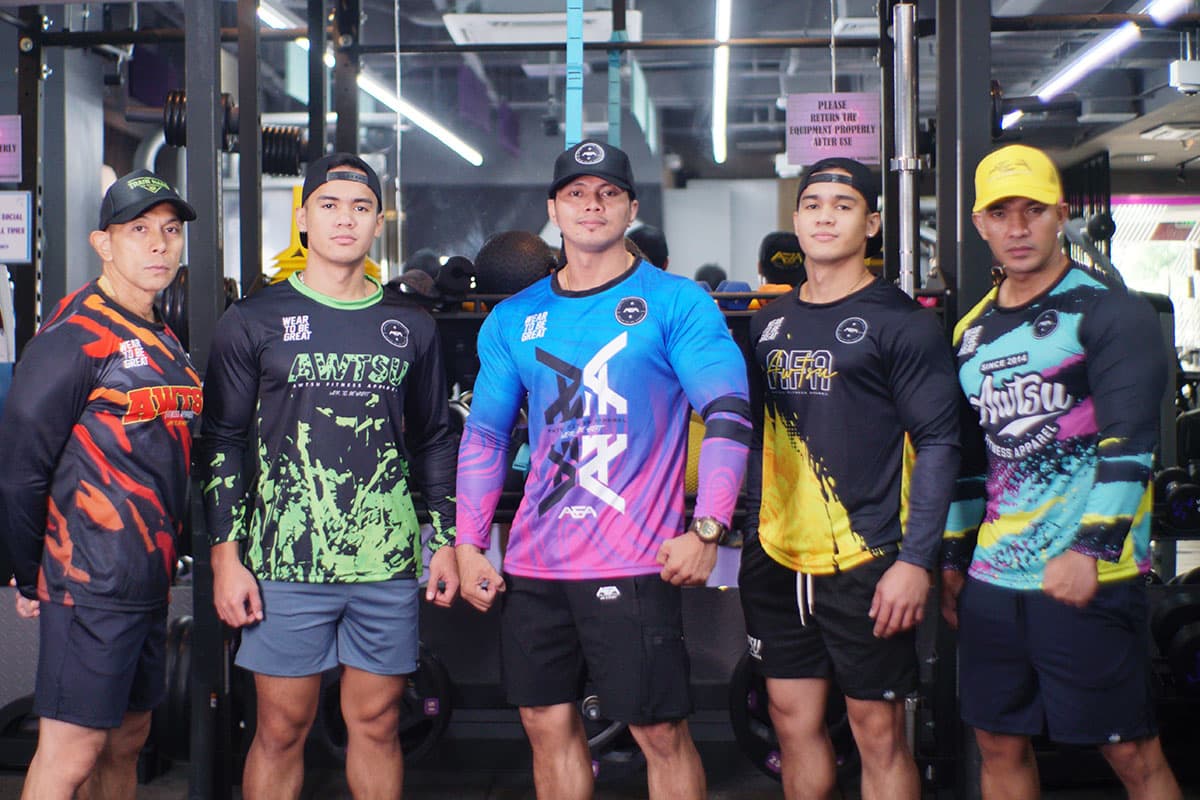
- A blank gym clothing, you can get blanks from Awtsu Fitness Apparel, ranging from t-shirts, openside sando, openside hoodies, muscle hoodies, sweat shorts, and joggers pants.
- Rags - To clean if you make a mess
- High-pressure water gun to clean the silkscreen
- A hairdryer or heat press machine(optional) to make the screenprints set and hard.
- You also need a pan that is easily available at any supermarket.
Now that you have all your materials, it's time to prepare your artwork.
Preparing The Artwork and Printing The Design
First, I need to get my printing design ready. This means creating it on the computer and then transferring it onto a sheet of transparent acetate film. After that, I'll use ultraviolet light to burn the design into a silk screen. This will help me make sure that the design is there and that it looks exactly how I want it.
Next, I'll have to expose the film to light and let it dry. This will harden the film so that I can transfer my artwork onto the silk screen. Then, using an emulsion solution, I'll coat both sides of the silk screen with liquid emulsion. This is important because it helps me make sure that my design shows up correctly when transferred to the screen.
Finally, once my silk screen is coated with emulsion and has dried, I'm ready to move on to transfer my image onto the screen.
Transferring The Image To The Screen
Screen printing is such a cool technique! Now that you have your screen printing machine set up and the design printed on paper, it's time to transfer the image to the silk screen.
First, you will need to take the silkscreen and place it in the frame. Take special care to make sure that all corners are tight so that nothing slips while you work. Then, use some tape or clips to secure the fabric in place.
Second, place the design on top of the screen and secure it with a few pieces of tape. Make sure that everything lines up correctly and is centered before moving on. If you’re using an exposure unit, follow the instructions for setting up and exposing your image onto your silk screen.
Third, carefully remove any tape or clips holding down your design. Then take off any excess paper from around your image until only your design remains on the silk screen. Now you are ready to move on to coating your silk screen with emulsion!
Coating The Screen With Emulsion
Now it's time to coat the silk screen with emulsion. Screen printing uses a printing press that presses layers of ink through the mesh in the screen.
Tip: Open the photo emulsion container and pour it into the pan so that you can coat the screen with it. Make sure that the solution doesn’t get exposed to direct light. So, we recommend you turn the lights off while doing this or do this process in dim lighting as quickly as possible to avoid ruining the photo emulsion.
We need to prepare our screen before we start printing, here's how you do it:
- First, put your screen on a flat surface and make sure it's level.
- Next, pour a thin layer of emulsion onto the screen and spread it evenly with a squeegee and spread softly, and drag it upwards to coat the screen with the emulsion.
- Repeat the process on the backside as well.
- Then, let the emulsion dry for 10-20 minutes. Once the coat is done, keep the screen in the darkest place possible. It will take about three hours for the screen to dry.
- Finally, use some water to rinse off any excess emulsion from the mesh.
Now that our screen is coated with emulsion, we can move on to expose the screen with a light source!
Exposing The Screen With A Light Source
Exposing the screen to a light source is like taking a photograph; it captures an image and allows us to print it. To do this, we need to put our prepared silk screen onto a flat surface, place our stencil on top of it, and make sure everything is lined up.
Then, we need to get our light source ready. It could be something like the famous Marilyn Diptych or Andy Warhol's printing methods; whatever works best for what we're trying to achieve.
When everything is ready, we have to switch on the light source and leave it for around 15-20 minutes until the image is exposed onto the silk screen. After that, we can take off the stencil and check if everything looks okay. If so, then we're all set for the next step - washing out the screen!
Washing Out The Screen
Now it's time to get ready for printing! Before you do that, you need to wash out the screen. It's important to get rid of any dust, dirt, and other residues so that your design will turn out perfectly. Here's how to do it:
- Start by filling a bucket with warm water and dish soap.
- Use a soft brush or sponge to scrub the inside of the screen using the soap mixture.
- Rinse off the soap with clean water.
- Dry off the screen using paper towels or an old t-shirt.
When washing out your screen, make sure you're using materials approved by commercial screen printing companies or recommended by The National Serigraph Society (NSS). This will help keep your equipment in good condition and ensure that your sports clothing designs come out looking amazing! After you've finished washing and drying the screen, it's time to set up the printing station.
Setting Up The Printing Station
I've got my design ready and I'm almost ready to start printing. First, I need to set up the printing station. It's important that I have everything in the right place so that it's cost-effective and efficient.
Tape up the screen
Using the packing tape, cut out and place around the inside of the screen to prevent the ink from running into edges that would go through and leak out into the garments. At this time pin-holing is also checked.
By using a bright light on one side carefully check the screen for specs in the screen where the emulsion was missed or washed out and is not part of the design. Cover pin holes that lights get through with tape or an emulsion pen.
Attaching the board
My first step is to grab a wooden board. I want it to be big enough for my Awtsu Fitness Apparel design. Then, I'll need to attach my screen to the board.
The screen is where I'll be placing my printed design. Next, I'll put some newspaper on the bottom of the board so that ink doesn't get everywhere when printing. It also makes cleaning up easier afterward.
Now, it's time to grab some ink and put it into a cup made for silk screening. This way, I can pour a little bit of ink out at a time and not waste any valuable resources. Finally, I'll place the squeegee on my screen for easy access once all of the pieces are in their places!
I'm almost ready to start printing but before doing so, there's one more important step - preparing inks for printing!
Preparing Inks For Printing
Now it's time to get ready to print! First, you need to prepare the inks. This means making sure all the colors you want to use are ready and on hand. You'll want to put each color of ink in its own container and label it so that you know what color it is when you're ready to print.
- Make sure all colors of ink are ready
- Label each color container clearly
- Choose the right type of ink for your project
- Measure out each color accurately
Next, you'll need to strain each color of ink into a clean bowl or container before pouring it into the top of the screen. This will help make sure there are no lumps or other particles that could clog up the fine mesh at the bottom of your screen. It's also important to make sure your inks are at just the right consistency for printing - not too thick or too thin. Once everything is ready, you can start applying ink to the print area.
Applying Ink To The Print Area
I'm gonna show you how to put ink in the print area. First, you need to make sure you have the right kind of ink for your screen. Then, get a squeegee and put it on a flat surface. Now, lay your screen down and pour a few drops of ink onto the center of the print area.
Next, use your squeegee to spread the ink around evenly. Start at one end and use short strokes from side to side until all the ink is evenly spread out over the print area. Make sure you don't push too hard or your image may be distorted.
Once that's done, tilt the screen up slightly and remove any excess ink by lightly running it across with the squeegee. You want enough ink to cover the whole design but not so much that it blurs out any details.
Now you're ready to move on to pulling a print!
Transferring Your Design - Pulling A Print
Now comes the fun part, transferring your design to your shirt. Now that the ink is on the screen, it's time to pull a print. To do this, you'll need a squeegee and some paper or fabric.
Keep your shirt on a hard flat surface and put a newspaper under it. Put the screen on top of the t-shirt where you want the design to go. You can use clips or clamps to mesh them together, so the screen won’t move during the printing process.
If you have a printing press setup like what we have in Awtsu Fitness Apparel it will make things easier as the screen frame is attached and aligned to the fabric better.
After that, take some screen-printing ink in an old spoon and spread it on top of the screen. Use the squeegee and move it back and forth on the screen to spread or pull the ink. Once you are sure the design is on the shirt, lift the screen carefully.
First, you'll need to make sure the squeegee is held tightly and securely at a 45-degree angle. Then, firmly pull the squeegee across the screen. The image will be transferred onto the material. Be careful not to press too hard or go too slow or else your print will be distorted.
Next, carefully remove the paper or fabric from under the screen and check for any imperfections. If everything looks good, you're ready for the next step: the curing process! In order to keep your design looking sharp and vibrant for years to come, you'll need to use heat or light to set it into place.
Curing Process
Once my print is done, it's time to cure it. Curing is when I heat-set the ink so that it becomes permanent. I use a heat press or an oven to cure my prints. If I'm using a heat press, I set the temperature and time for curing.
Then, I place the print between two pieces of parchment paper before putting it in the press. Finally, I press down on the print for the length of time specified by the manufacturer's instructions.
If I'm using an oven to cure my print, then I first preheat my oven to 350 degrees Fahrenheit or 180 degrees Celsius. Then, after placing my print on a piece of parchment paper on a baking sheet, I put it in the oven and bake it for about 10 minutes. Afterward, be sure to turn off your oven and let your print cool down before touching it!
Curing a PVC (plastisol) ink generally takes 30 seconds at 320 degrees Fahrenheit. The best results in curing the ink are by using a heat press machine with a timer. This is the exact process that we do in Awtsu Fitness Apparel and it's that easy, you have your gym clothes with your own custom design!
Curing is really important because if you don't do it right your prints will not last very long or wash out easily. So make sure you follow all instructions carefully! Also, remember to use safety precautions when using any type of heat source like a heat press or an oven.
Now that my prints are cured and ready to go, it's time to clean up after printing!
Cleaning Up After Printing
Once the prints have been cured, it's time to clean up. I start by removing the screen from the press. Then, I use a water hose and a scraper to remove any excess ink from the screen.
Next, I rinse off any remaining ink with a detergent solution. After that, I dry off the screen with a lint-free cloth. Finally, I store the screen away in its protective sleeve or bag until next time.
Now that everything is cleaned up and put away, it's time for some quality control and assurance checks. This includes making sure all of my prints look great and are free of defects. If everything looks good, then I'm done!
Quality Control And Assurance Checks
I'm sure I don't have to remind you that quality control is paramount to a successful silk screening print. Checking your work is like the perfectionist that we are in Awtsu Fitness! I go through several steps when checking for quality assurance.
First, I make sure all the screens are clean and free from debris. This helps ensure the inks will lay down evenly without any clumping or smudging.
Next, I inspect each screen for proper registration. This means making sure all the colors align perfectly with each other, so there's no misalignment between layers or parts of a design.
Third, I check the inks for consistency and vibrancy across all prints. If one print looks dull compared to another, then something went wrong during production and I need to correct it before continuing with more prints.
Finally, I inspect every print for flaws or blemishes that could have occurred during the printing process. This includes checking for loose fibers in fabric prints, ensuring there's no excess ink on edges or backgrounds, and making sure there are no smudges or runs in the ink itself. Now that we're done with quality control checks, let's move on to troubleshooting any problems we may encounter while printing!
Troubleshooting
If you're having trouble with silk screen printing, there are a few things to try. First, make sure you have everything ready before you start. Check that your screen is the right size and that it has been washed properly. Make sure all of your ink, screens, and frames are clean and ready to use.
Second, practice on some scrap material or paper first. This will help you get the hang of the process and make sure everything is working correctly. If something isn't right, adjust it before starting on your main project.
Third, when putting your design onto the screen, be patient and take your time. If you rush through this step, it can cause problems with the end result. Follow the instructions carefully and make sure each step is done correctly.
Finally, if something still isn't working correctly after trying these tips, ask for help! Talk to an experienced silk screen printer or someone in a craft store who specializes in this type of art form for more advice on how to troubleshoot any issues you may be having.
Frequently Asked Questions
What Is The Cost Of Setting Up A Silk Screen Printing Station?
Setting up a silk screen printing station can be expensive. But, it's important to know what it'll cost before you start. You need to think about the supplies, equipment, and other materials you'll need to buy. That way, you'll have an idea of what it'll cost to get started.
You'll need certain supplies like inks, emulsion, screens, and a squeegee. Then there's the equipment like a flash dryer or exposure unit. Plus, there are other materials such as frames and substrates that you might need too. All these things add up when it comes to setting up your own silk screen printing station.
When budgeting for your screen printing station, consider how often you're going to use it and how much material you'll go through each time. That way you can get an idea of how much money it will take to keep your business going. If you're just starting out, then try finding second-hand materials that are still in good condition so that you don't spend too much money at once.
If all this seems confusing or tricky, then consider getting help from someone with experience in the field. They can guide you on what type of supplies and equipment you should buy depending on your needs and budget. Asking for help can be a huge help when setting up your own silk screen printing station!
What Type Of Fabric Is Best For Silk Screen Printing?
Have you ever wondered what type of fabric is best for silk screen printing? Well, it turns out there are some great options that can help make your project look perfect! Coincidentally, I'm a bit of a fashion enthusiast and have tried several different types. Here's what I've found:
* Cotton – this is by far the most popular choice because it absorbs the ink well and has a smooth surface. Plus, cotton is easy to find and comes in many different colors and textures.
* Polyester – this fabric is lightweight and stronger than cotton, so it's great for projects that need extra durability. It also dries quickly after being printed on.
* Nylon – this fabric has a more luxurious feel to it, so if you're looking for something special, nylon might be the way to go. It also takes color well and won't shrink when washed.
* Spandex – if you want something really stretchy for your project, spandex is the fabric for you. It's very durable and will hold its shape even after multiple washes.
When choosing the right fabric for your silk screen printing project, make sure to consider how much wear and tear it will get. Some fabrics may be more expensive but can last longer than others.
Also, think about the color of the fabric - if you want vibrant colors, go with lighter-colored fabrics like white or cream. And don't forget to take care of the finished product by washing it separately from other clothes! You'll have a beautiful piece that lasts for years to come!
How Durable Is A Silk Screen Print?
Hey there! Have you ever wondered how durable a silkscreen print is? Well, you're in luck because we're going to discuss it right now.
Silk screen prints are actually really strong and durable. They can withstand a lot of wear and tear because the ink is applied thickly to the fabric. That means that you won't have to worry about your design fading or cracking over time. Plus, the colors will stay vibrant for years to come.
When printing on fabric, it's important to make sure that the fabric is high quality so that the ink will stick well and last longer. Cotton is usually the best option for silk screen printing as it absorbs the ink nicely and holds up against washing and wearing.
So if you want something that looks great and lasts a long time, then silk screen printing is definitely worth considering. With proper care, your design can look amazing for many years!
Can Silk Screen Printing Be Done By Hand?
Yes! Silk screen printing can be done by hand. It's a fun and creative way to make t-shirts, posters, and more. Have you ever seen someone wearing a custom-printed shirt? Chances are it was silk-screened by hand.
Making a silkscreen print is like making a puzzle. First, you need to create or buy the design that you want to print. Then you have to cut out a piece of fabric or mesh with the same shape as your design and attach it to the frame. After that, you have to mix your ink and use a squeegee tool to pull it across the screen so that it covers the fabric, leaving your design behind on the garment!
It might seem complicated but with some practice, anyone can do it! All you need are some basic supplies such as fabric, ink, screens, and frames. There are lots of tutorials online which can help guide beginners through the process step by step. Plus, once you get good at it, silk screening makes for an easy way to make money from home!
Silk screen printing is an art form that has been around for centuries and is still popular today. It's amazing how modern technology has made this process easier than ever before while still maintaining its traditional roots. So if you're looking for a fun new craft project or want to start selling prints at home, give silk screening a try! Who knows — maybe one day people will be wearing your custom creations!
How Many Colors Can Be Printed In One Pass?
Doing silk screen printing by hand can be really fun and creative! But have you ever wondered how many colors can be printed in one pass? Well, there are a few things to consider when it comes to this. Here's what you need to know:
1. First, the number of colors will depend on the complexity of the design. If it's a simple design with only a few colors, then it may be possible to print them all in one pass.
2. Second, the type of ink used is important too. Some inks require multiple layers before they dry completely and that could affect how many colors can be printed at once.
3. And finally, the number of passes will also depend on the type of printer being used. If you're using a professional printer that is designed for silk screen printing, then it might be able to handle more than one color at a time.
So if you want to know exactly how many colors can be printed in one pass when doing silk screen printing by hand, then it really depends on the design, ink type, and printer being used! It's worth doing some research or asking an expert if you're unsure about something - that way you can make sure your project turns out perfect!
Conclusion
Silk screen printing is a great way to customize any fabric with a colorful design. It's a fun and affordable hobby that anyone can learn with the right supplies and some practice.
With silk screen printing, you can create one-of-a-kind designs that last for years. And did you know that you can print up to six colors in one pass? That's pretty cool!
Setting up your own silk screen printing station doesn't have to be expensive either. All you really need is some fabric, a few screens, ink, and basic tools like squeegees and tape. Once you have your supplies ready, it's time to get started!
You'll want to find the best type of fabric for your project. Cotton is usually the most popular choice because it's strong and durable enough to withstand washing without fading or cracking.
It doesn't matter if you choose to do it by hand or use an automatic press - once you master the printing technique of silk screen printing, there’s no limit to what designs and creations you can make. So why not give it a try? You never know what kinds of beautiful prints you could create!
Are you ready to start printing your custom-designed gym clothing or custom t-shirts? If this is too complicated for you then you can always let the Awtsu Fitness Apparel team do the above steps and get your own custom-designed silk screen gym clothing done quickly and perfectly!
Let us know how you go if you have any questions feel free to ask our team on our Awtsu Fitness Apparel Facebook Page


Hi Team,
i am Ajay from Delhi India...